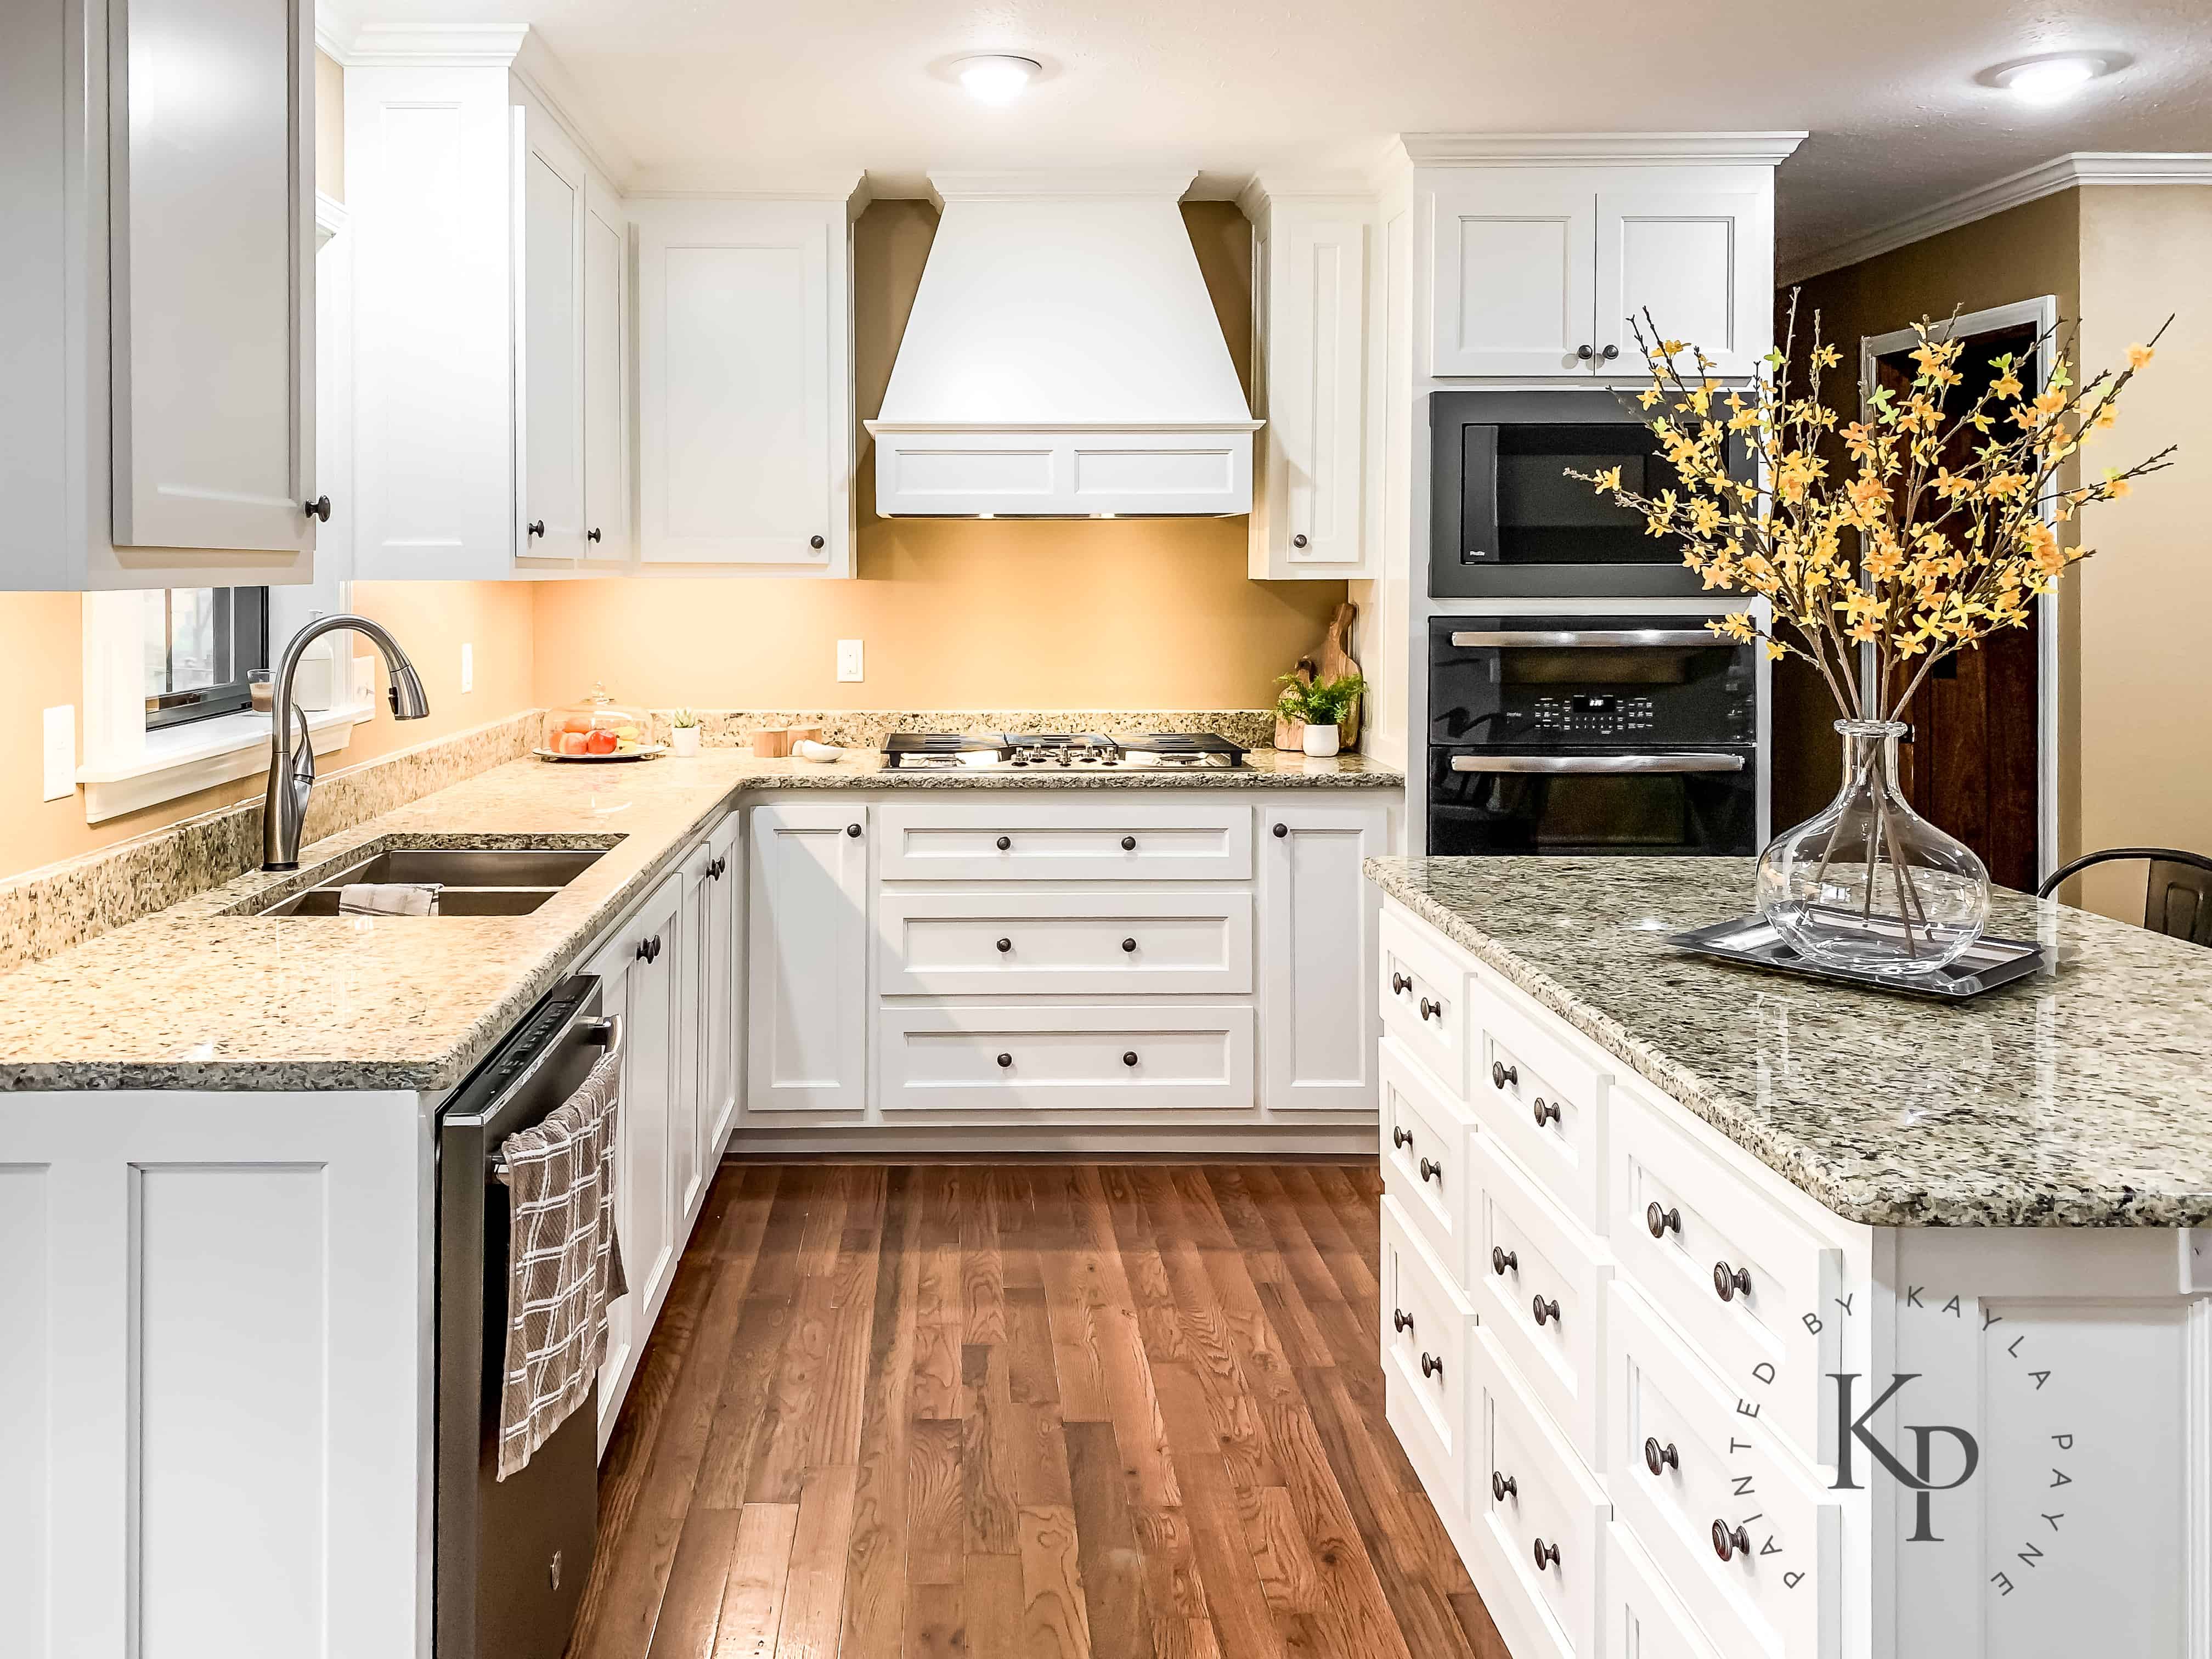
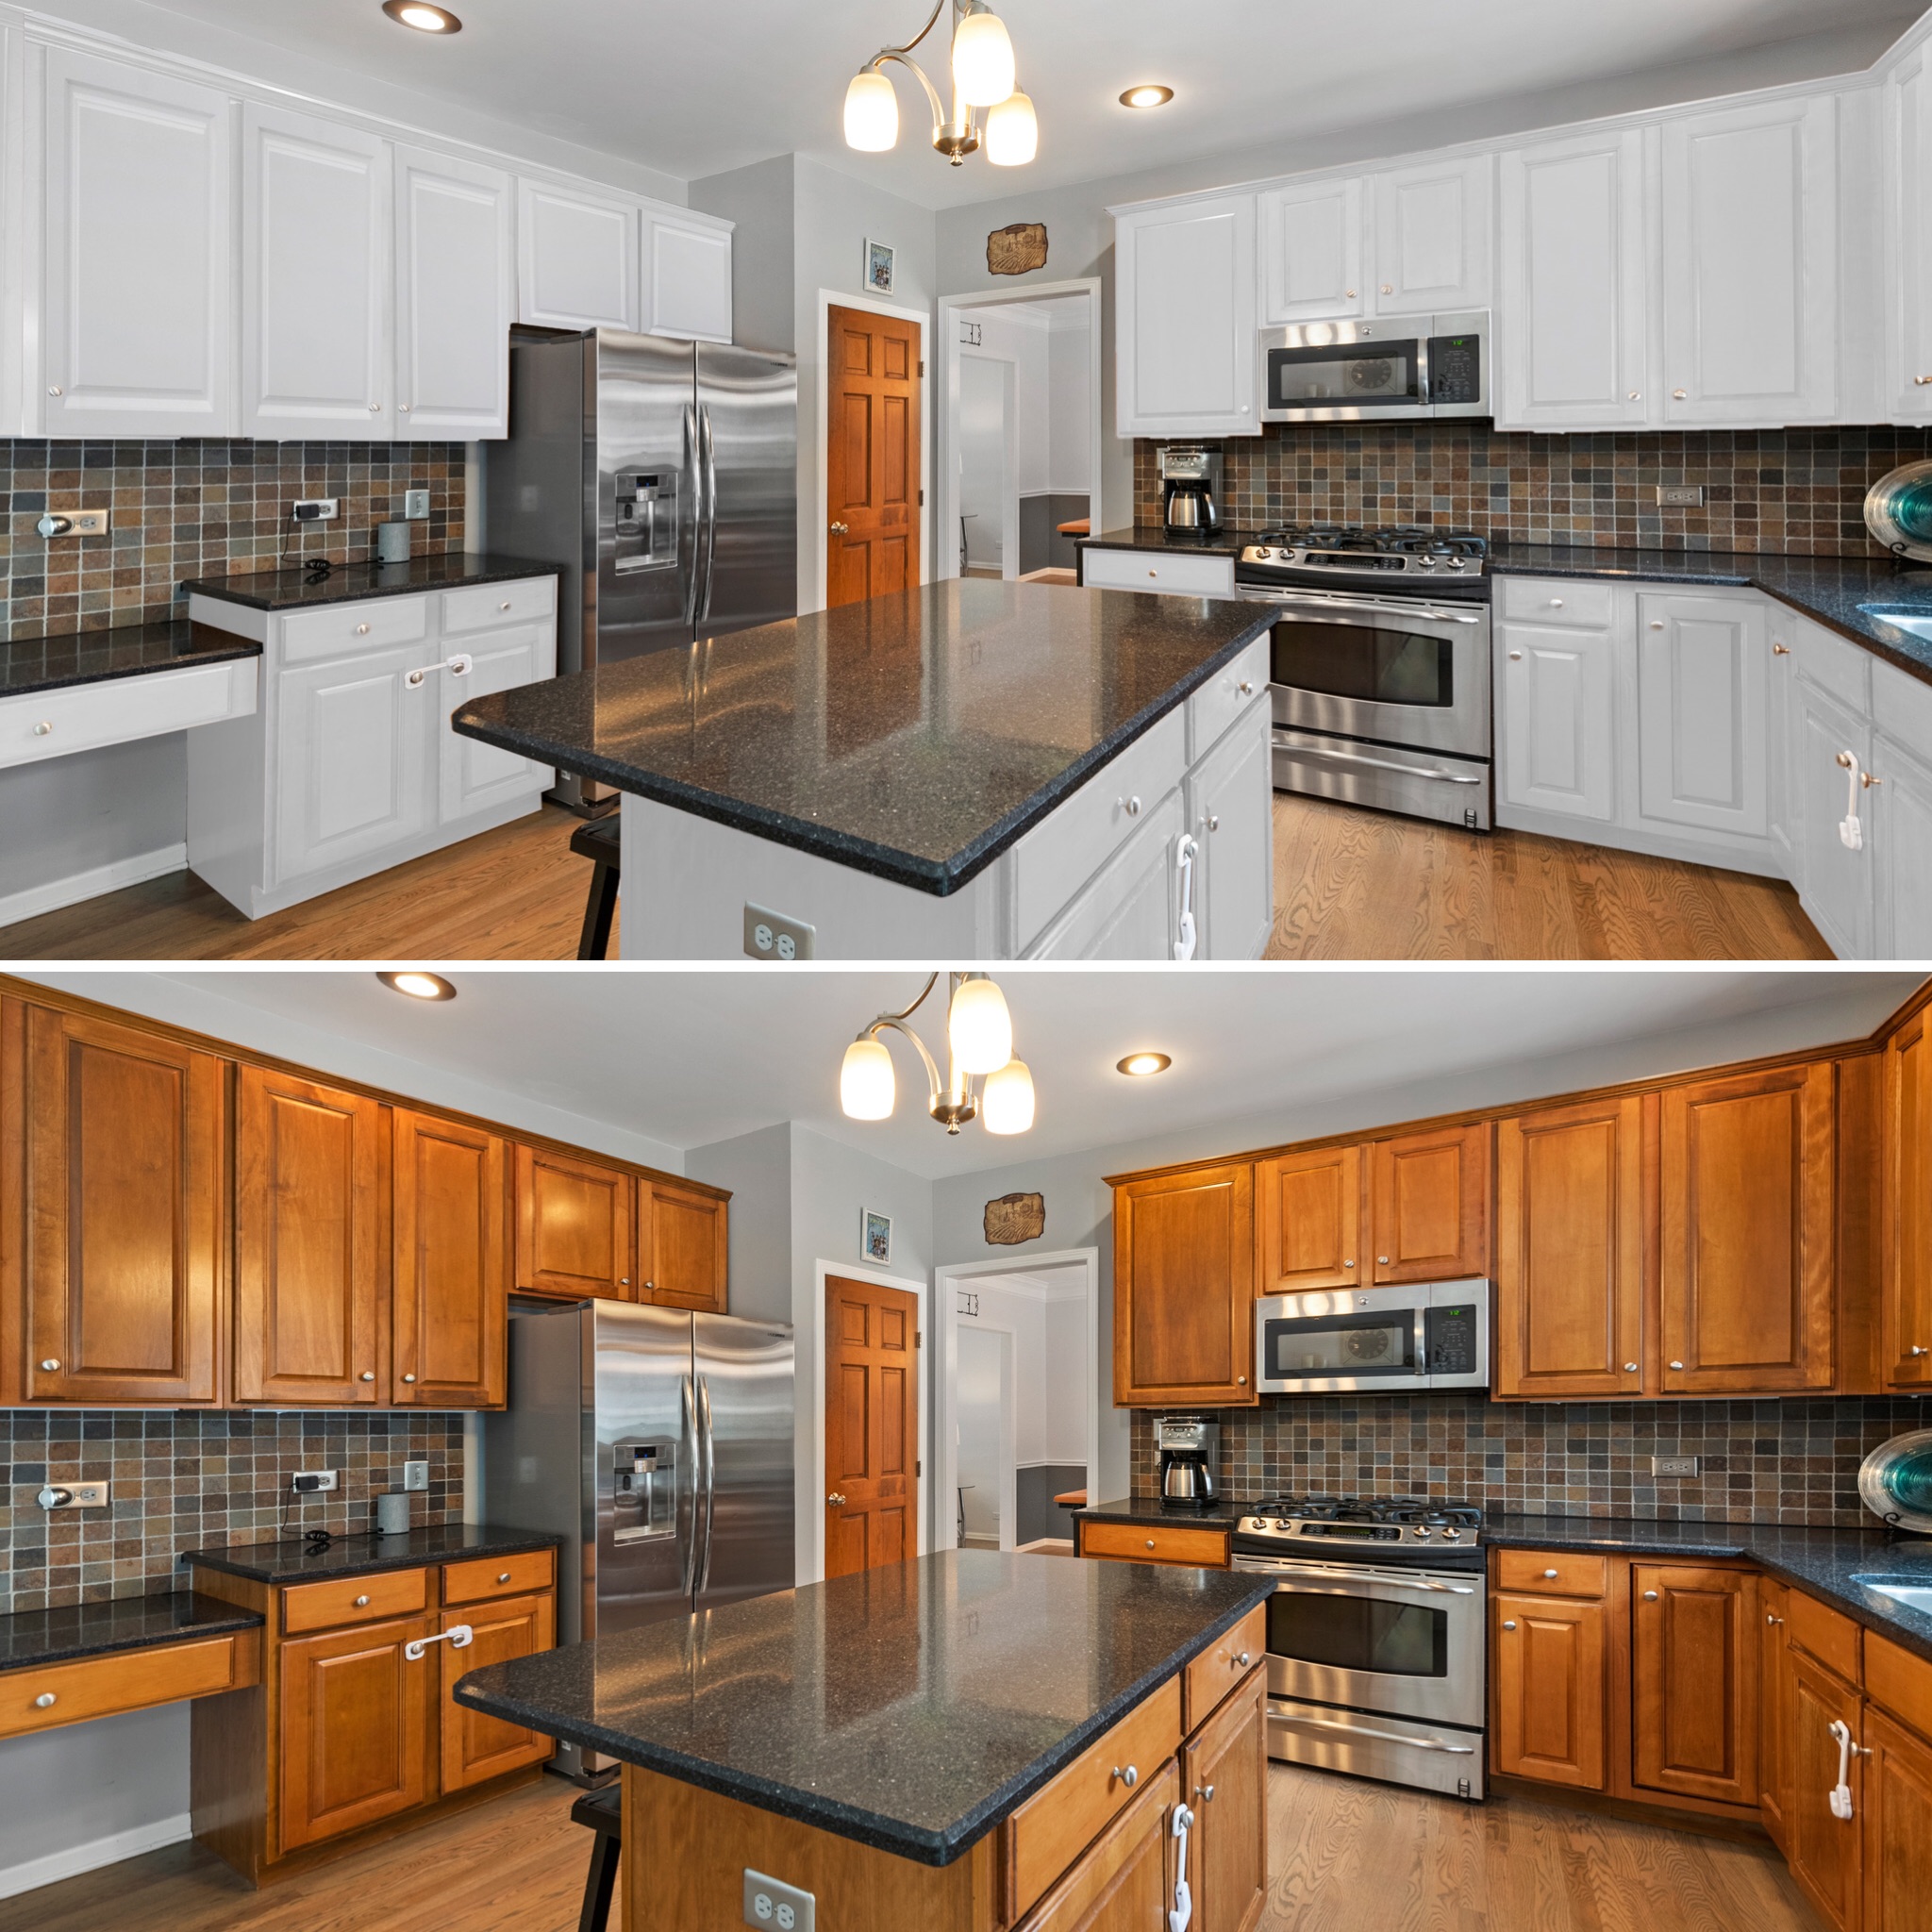
Understanding Whitewashing: Whitewash Wood Wall Cabinet

Whitewashing is a technique used to give wood a light, airy, and aged appearance. It involves applying a thin layer of a whitewash solution to the wood surface, allowing some of the wood’s natural grain to show through. Whitewashing is a popular choice for homeowners looking to create a rustic, farmhouse, or coastal aesthetic in their homes.
The Process of Whitewashing Wood
Whitewashing involves applying a diluted paint or limewash solution to the wood surface. The solution is typically made by mixing white paint, water, and sometimes a bonding agent. The amount of water used determines the opacity of the whitewash. A more diluted solution will result in a lighter, more transparent finish, while a thicker solution will create a more opaque finish.
The whitewash solution is applied to the wood using a brush, roller, or even a rag. The application process is similar to painting, but the goal is to create an uneven, streaky, and slightly transparent finish. Once the whitewash is applied, it is allowed to dry completely.
Types of Whitewash
There are several different types of whitewash available, each with its own unique characteristics and benefits:
- Limewash: This traditional type of whitewash is made from hydrated lime, water, and sometimes a binder. It is a natural, breathable, and environmentally friendly option. Limewash is known for its chalky finish and its ability to create a unique aged look.
- Milk Paint: This type of whitewash is made from a mixture of milk, lime, and pigment. It is a natural and eco-friendly option that produces a soft, matte finish. Milk paint is known for its ability to create a vintage look and its resistance to fading.
- Acrylic Whitewash: This type of whitewash is made from acrylic paint, water, and a bonding agent. It is a more durable and water-resistant option than limewash or milk paint. Acrylic whitewash is also available in a wider range of colors.
Benefits of Whitewashing Wood Cabinets
Whitewashing wood cabinets offers several benefits:
- Enhanced Aesthetics: Whitewashing creates a light, airy, and aged appearance that can enhance the overall aesthetic of a kitchen or bathroom.
- Rustic Charm: Whitewashing can give wood cabinets a rustic charm that is perfect for farmhouse or coastal-style homes.
- Versatility: Whitewashing can be used on a variety of wood species, making it a versatile finishing technique.
- Easy Application: Whitewashing is relatively easy to apply, even for DIY enthusiasts.
- Cost-Effective: Whitewashing can be a more cost-effective option than painting or staining wood cabinets.
Comparison of Whitewashing to Other Paint Finishes
Whitewashing is a unique paint finish that offers a distinct look compared to other paint finishes:
- Paint: Paint provides a solid, opaque finish that completely covers the wood surface. Whitewashing, on the other hand, creates a more transparent finish that allows some of the wood’s natural grain to show through.
- Stain: Stain penetrates the wood surface, changing its color but not completely covering it. Whitewashing, on the other hand, sits on top of the wood surface, creating a more opaque finish.
Materials Needed for Whitewashing
The materials needed for whitewashing depend on the type of whitewash you choose:
- Limewash: Hydrated lime, water, a binder (optional), a brush, a roller, and a rag.
- Milk Paint: Milk, lime, pigment, water, a brush, a roller, and a rag.
- Acrylic Whitewash: Acrylic paint, water, a bonding agent, a brush, a roller, and a rag.
Preparing the Cabinet

A well-prepared cabinet is crucial for a successful whitewashing project. Proper preparation ensures the whitewash adheres evenly and lasts longer.
Essential Preparation Tasks, Whitewash wood wall cabinet
A checklist of essential tasks ensures you have everything you need before you begin.
- Empty the Cabinet: Remove all contents to ensure you have full access to the cabinet’s interior and exterior surfaces.
- Clean the Cabinet: Thoroughly clean the cabinet to remove dust, dirt, grease, and grime. This helps the whitewash adhere properly.
- Sand the Cabinet: Sanding smooths out any imperfections and provides a better surface for the whitewash to adhere to.
- Protect Surrounding Areas: Protect surrounding surfaces from spills and splatters. This includes covering floors, countertops, and walls.
Sanding and Cleaning the Cabinet
Sanding and cleaning are critical steps for achieving a smooth and even whitewash finish.
- Start with a Coarse Grit: Begin with a coarse-grit sandpaper (80-120 grit) to remove any rough spots, bumps, or uneven surfaces. This step helps create a smooth base for the whitewash.
- Progress to a Fine Grit: After using the coarse grit, switch to a finer grit sandpaper (150-220 grit) to smooth out any remaining imperfections. This step ensures a smooth and even finish for the whitewash.
- Clean the Cabinet Thoroughly: After sanding, use a damp cloth or a vacuum cleaner to remove dust and debris. This step ensures the whitewash adheres properly and prevents dust particles from becoming visible in the final finish.
Protecting Surrounding Areas
Protecting surrounding areas during whitewashing prevents unwanted stains and messes.
- Cover Floors: Protect floors with drop cloths, plastic sheeting, or newspapers. This step prevents the whitewash from staining the floor.
- Cover Countertops: Protect countertops with plastic sheeting or painter’s tape. This prevents spills and splatters from damaging the countertop surface.
- Protect Walls: Protect walls with painter’s tape to prevent the whitewash from accidentally getting on the walls. This step helps create clean lines and prevents the whitewash from staining the walls.
Step-by-Step Guide for Prepping the Cabinet
Follow these steps for a thorough and effective preparation:
- Empty the Cabinet: Remove all contents from the cabinet, ensuring you have full access to all surfaces.
- Clean the Cabinet: Use a damp cloth and mild detergent to clean the cabinet’s interior and exterior surfaces, removing any dust, dirt, grease, or grime.
- Sand the Cabinet: Sand the cabinet using coarse-grit sandpaper (80-120 grit) to remove any rough spots, bumps, or uneven surfaces. Follow this with fine-grit sandpaper (150-220 grit) to achieve a smooth finish.
- Clean the Cabinet Again: After sanding, use a damp cloth or vacuum cleaner to remove dust and debris, ensuring a clean surface for the whitewash.
- Protect Surrounding Areas: Cover floors, countertops, and walls with drop cloths, plastic sheeting, painter’s tape, or newspapers to prevent stains and splatters.
Applying the Whitewash

The whitewash application process is the heart of the project. It’s where you transform your cabinet from its original state to a beautifully aged, rustic look. Here, we’ll guide you through the steps, providing tips and techniques to achieve the desired effect.
Applying the Whitewash
Whitewash application requires a gentle touch and careful attention. The goal is to create a translucent layer that allows the wood’s grain to show through, achieving a subtle, aged look.
- Prepare the Surface: Ensure your cabinet is clean, dry, and free from dust or debris. This allows the whitewash to adhere properly.
- Choose Your Application Method: Whitewash can be applied using a brush, sponge, or even a rag. A brush provides good control, a sponge creates a more textured effect, and a rag offers a more subtle finish.
- Start with a Thin Coat: Apply a thin, even layer of whitewash to the cabinet’s surface. It’s best to work in small sections to ensure the whitewash doesn’t dry too quickly.
- Work with the Grain: Apply the whitewash in the direction of the wood grain. This helps create a natural, rustic look.
- Avoid Overlapping: Don’t overlap your strokes too much, as this can create a thick, uneven finish.
- Allow to Dry: Let the whitewash dry completely before applying additional coats. The drying time will depend on the type of whitewash and the humidity level.
- Add Additional Coats (Optional): If you want a more opaque finish, apply additional coats of whitewash. Allow each coat to dry completely before applying the next.
Achieving a Smooth and Even Finish
A smooth, even finish is crucial for a successful whitewash project. Here are some tips to help you achieve this:
- Use a Quality Whitewash: A good quality whitewash will be easier to apply and will provide a smoother finish.
- Apply Thin Coats: Applying thin, even coats is key to achieving a smooth finish. Avoid applying too much whitewash in one go.
- Blend the Edges: As you apply the whitewash, blend the edges of each section to avoid noticeable lines.
- Sand Lightly (Optional): If you want a truly smooth finish, you can lightly sand the whitewash between coats. This will help remove any imperfections and create a more even surface.
Application Methods
Each application method offers unique advantages and disadvantages, influencing the final appearance.
- Brush: Provides the most control for precise application and allows for greater variation in the whitewash coverage. Ideal for achieving intricate designs or patterns.
- Sponge: Creates a more textured finish, allowing for a rustic, uneven look. The sponge absorbs excess whitewash, resulting in a slightly diluted application.
- Rag: Offers a subtle, almost faded effect. The rag absorbs the whitewash, creating a more blended and less opaque finish.
Whitewash Effects and Patterns
Whitewash can be used to create a variety of effects, adding character and depth to your cabinet.
- Distressed Look: Achieve a distressed look by applying the whitewash unevenly, focusing on the edges and corners of the cabinet.
- Aged Finish: For an aged finish, apply thin coats of whitewash and let it dry completely between coats. This will create a layered, aged appearance.
- Two-Tone Effect: Create a two-tone effect by applying a darker shade of whitewash to certain areas of the cabinet, such as the edges or the top.
- Stenciled Patterns: Use stencils to create intricate patterns on the cabinet surface. Apply the whitewash over the stencil, then remove the stencil to reveal the pattern.
A whitewash wood wall cabinet can add a touch of rustic charm to any room, and the right details can elevate it from simple to stunning. Consider incorporating intricate carved wood cabinet door panels for a touch of elegance that complements the whitewashed finish.
These panels add a layer of depth and texture, creating a visual focal point that draws the eye and enhances the overall aesthetic of the cabinet.
A whitewash wood wall cabinet can add a touch of rustic charm to any room. Its light and airy aesthetic creates a sense of calm, much like the small fish tank in bedroom that provides a serene focal point.
The whitewash finish complements a variety of decor styles, making it an ideal choice for showcasing your favorite items and creating a welcoming atmosphere.
